How to Master the Downward Facing Dog
by Blue Karma

Whether you practice yoga or have never tried before, chances are you will most likely have heard of the Downward Facing Dog pose. Although it is probably the most common and one of the first poses practitioners usually learn, it is very common to see the pose not executed properly. So we would like to give you some tips in order to avoid injury and access all the benefits of the experience.
Deep Down into the Downward Facing Dog
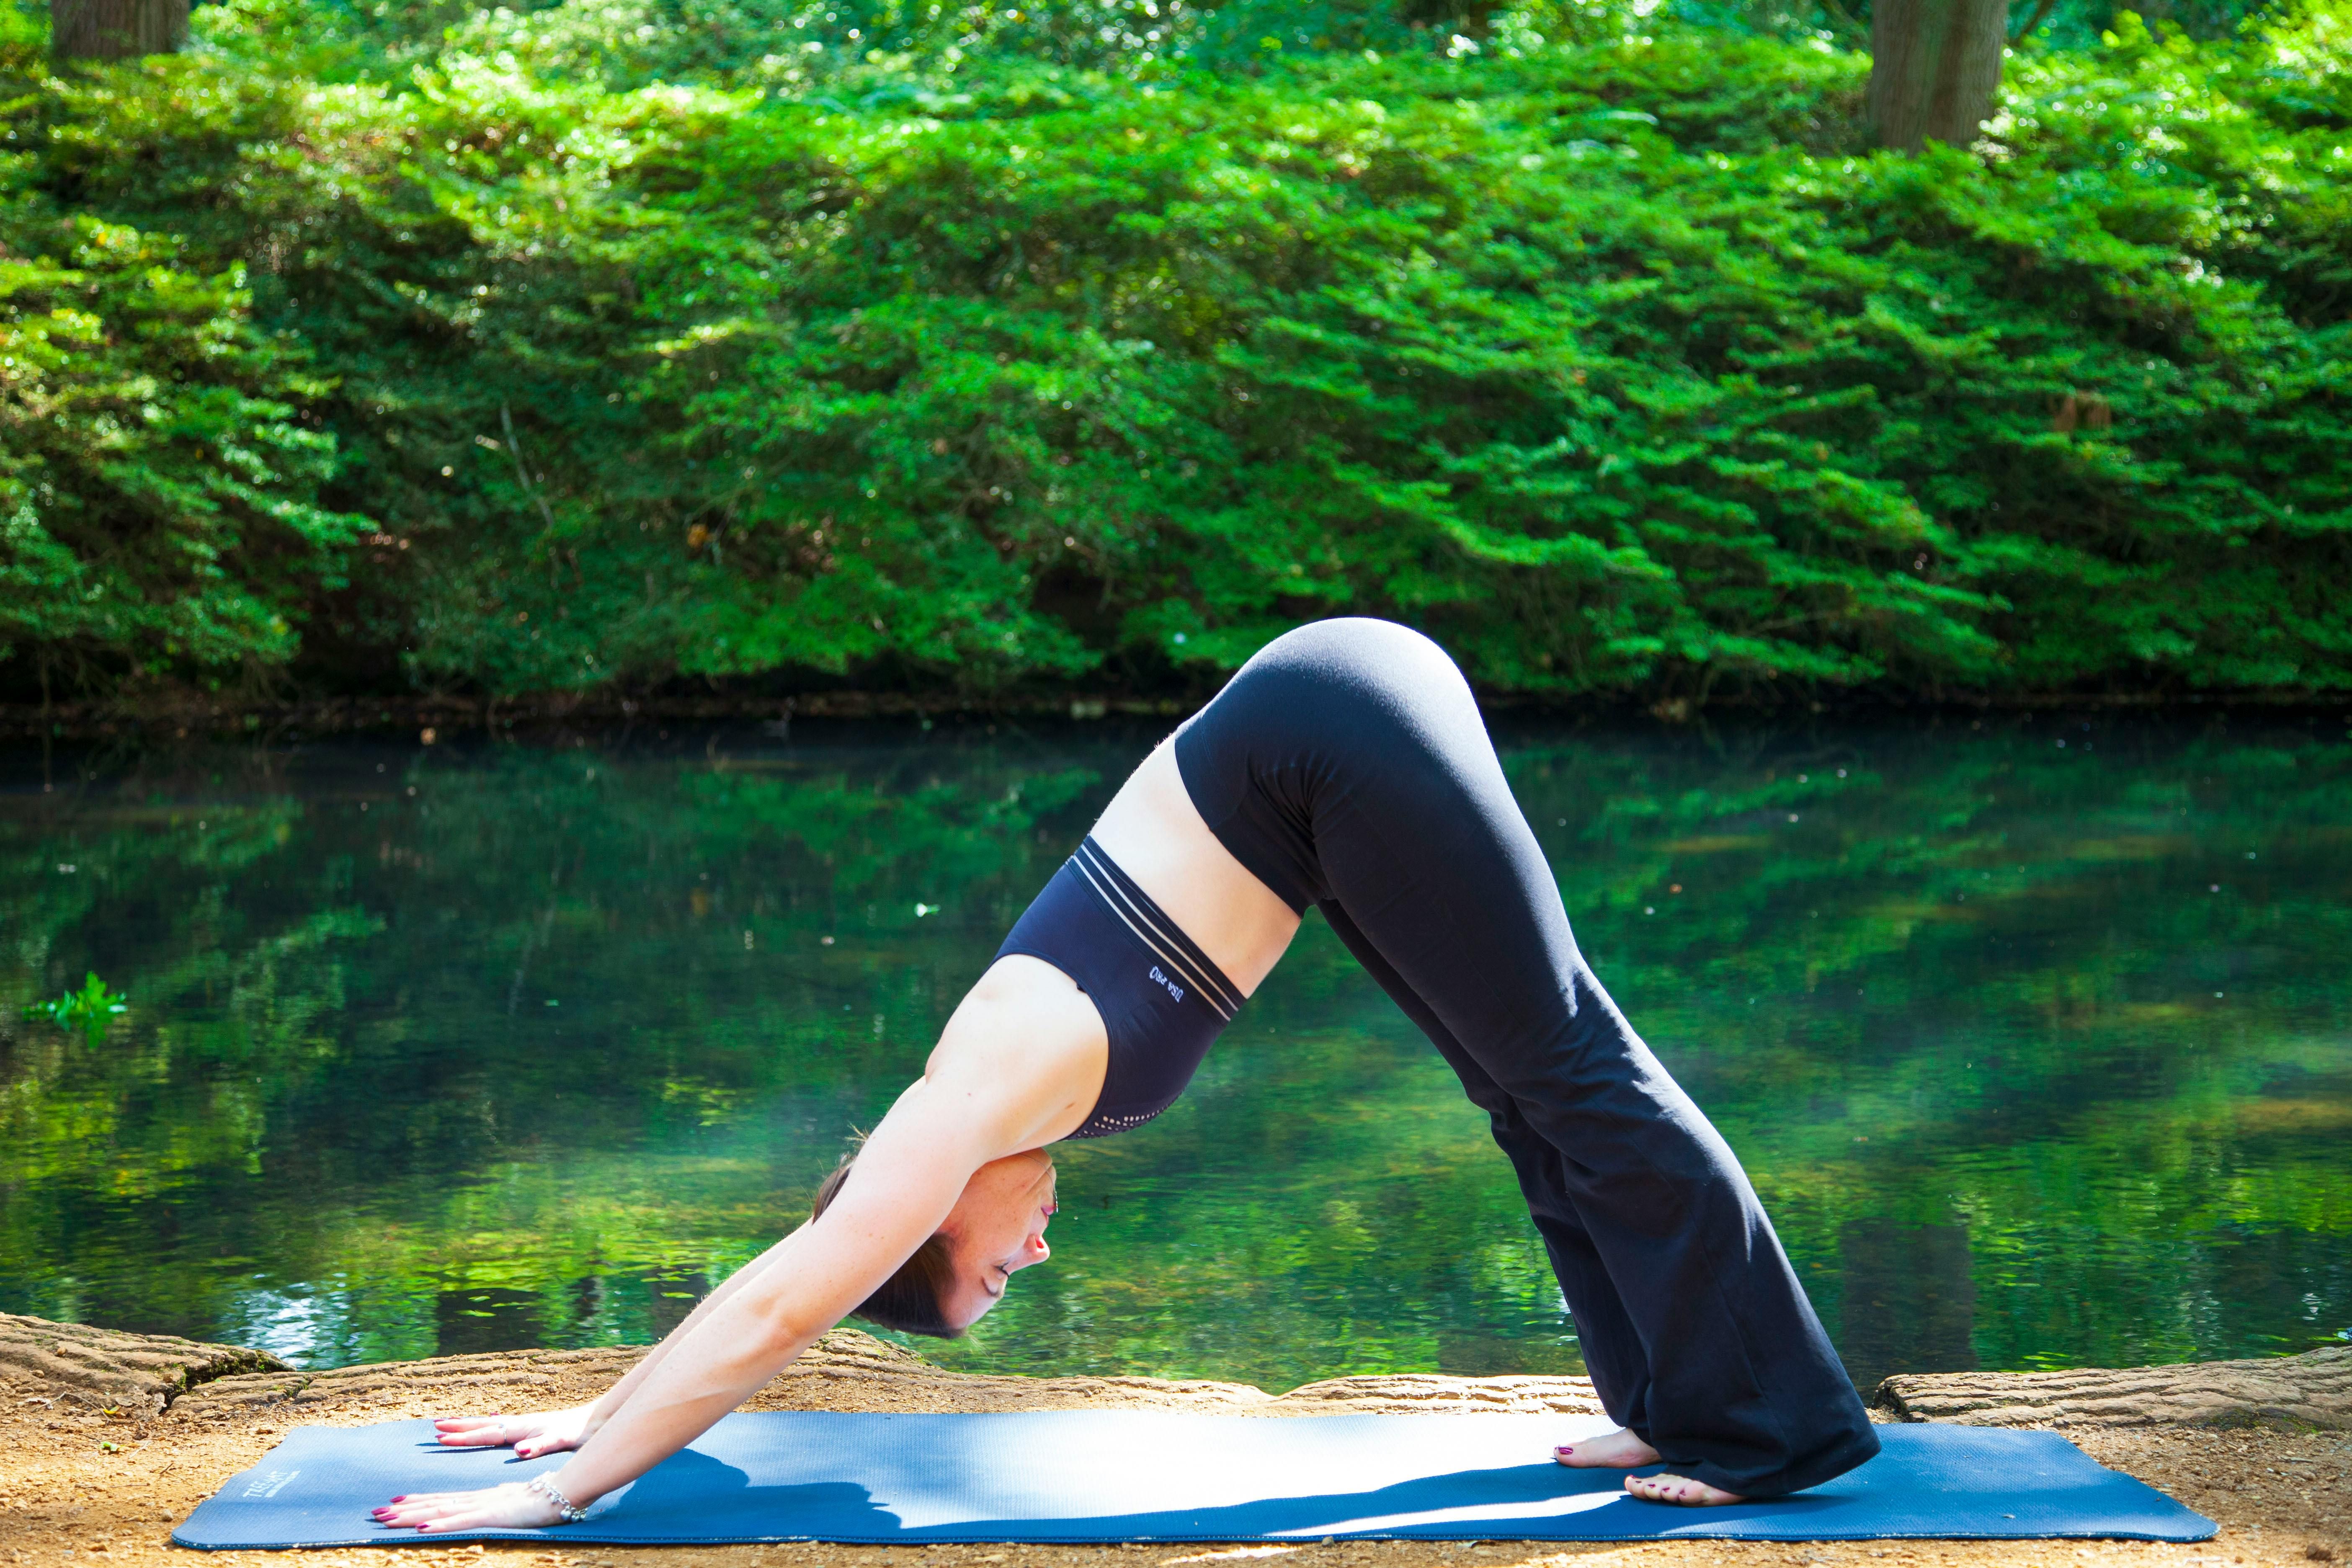
Let's breakdown the sanskrit word Adho Mukha Svanasana: Adho = downwards, mukha = face and svana = dog. The posture belongs to the classification of Pascimatana, which means the extension of the whole back of the body. The intention of this yoga pose is to lengthen the spine, hamstrings and calf muscles. Since the head is below the heart, you also benefit from a gentle inversion, calming the nervous system and releasing stress.
Some caution to take into consideration: Due to its inversion effect, anyone with glaucoma conditions, hiatal hernia or high blood pressure should avoid this yoga pose. Pregnant women can practice it for short stays unless they experience any dizziness or are suffering from carpal tunnel syndrome. Best to avoid during their third trimester. Finally, anyone with wrists, shoulder or back injury will need to be very cautious or avoid the pose. Note you can support the wrists by placing a cushion or fold the mat underneath.
Instructions
The best way to get into the pose is to start from an all fours position, where wrists are underneath your shoulders and your knees in line with your hips.
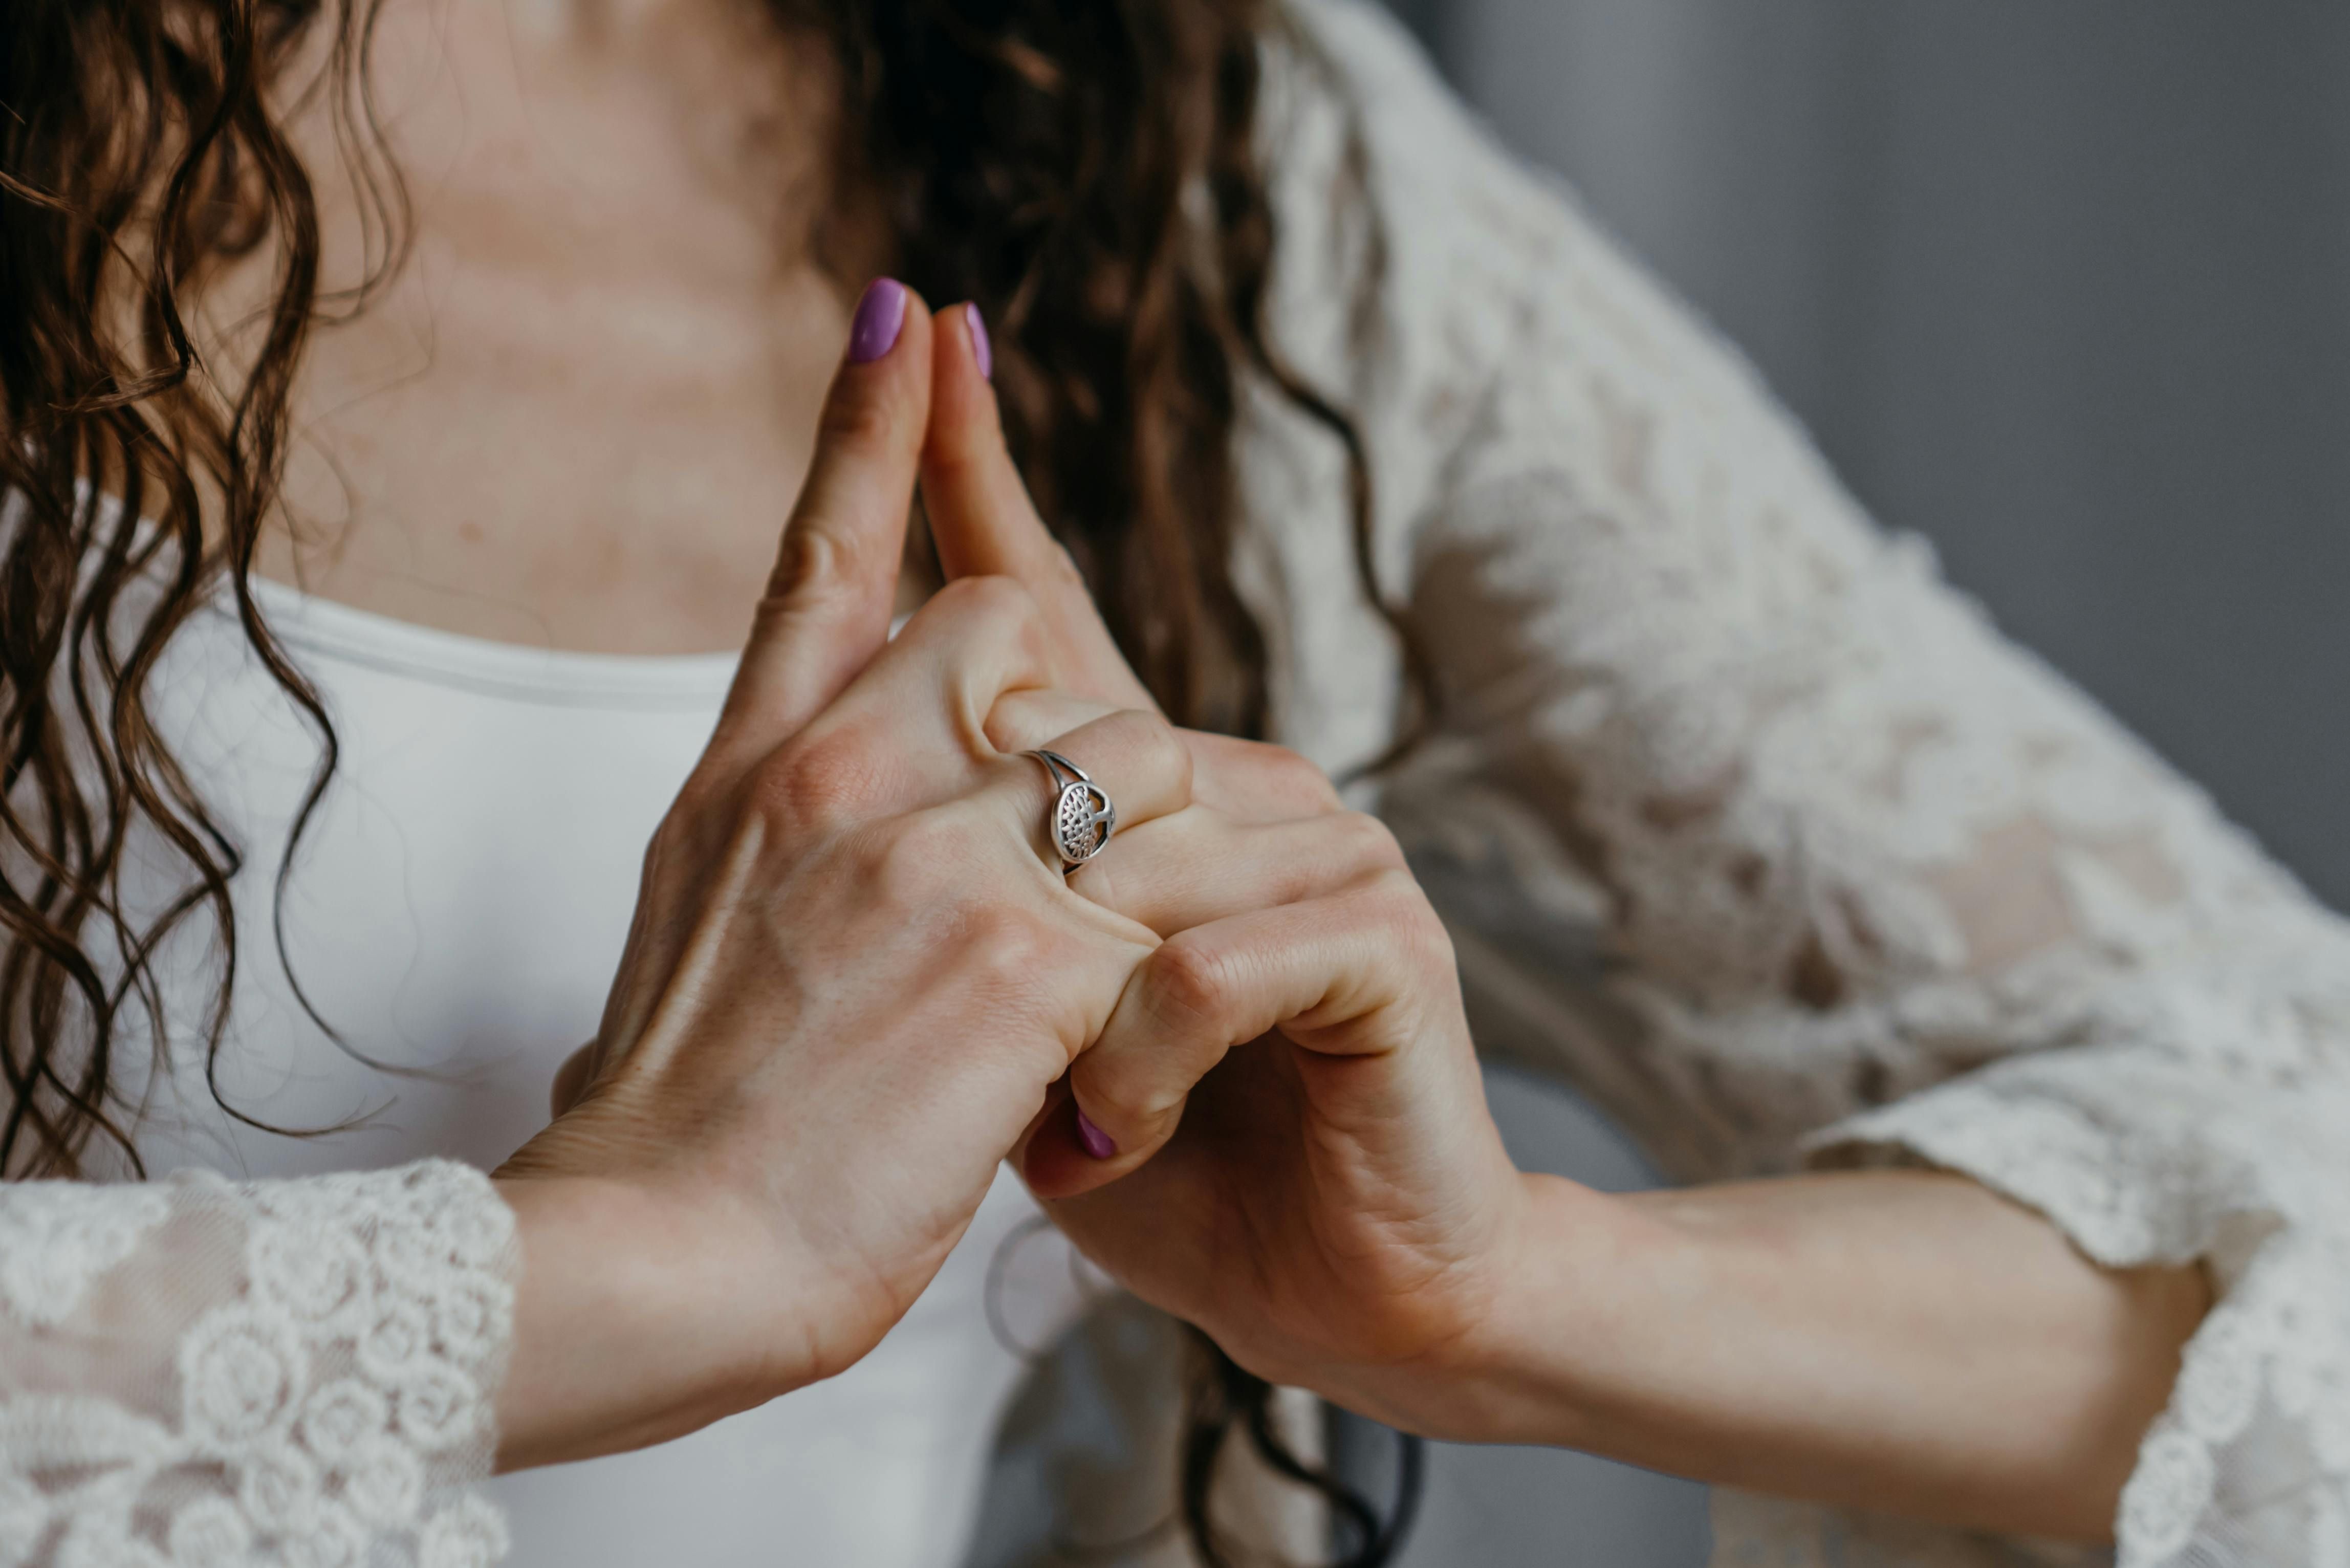
Make sure you spread the fingers wide. It is recommended to have your index and middle fingers form a V shape and point forward. Use the whole of the hand to support yourself in order to protect your wrists, by pressing down through the palm of the hands and the fingertips.
Now curl the toes under. On your next exhalation, draw the navel towards the spine and press your arms down, pushing the floor away from you. At the same time bring your hips back whilst keeping your knees bent and then lift your hips up as you take the knees off the floor slowly coming into the pose.
Keep your knees bent at first. The most important aspect of this yoga pose is to lengthen the spine. Too often, practitioners straighten their legs right away whilst their spine is rounded. So before you focus on straightening the legs, make sure you extend the spine and in order to do that, you can gently tilt the pelvis forward. It doesn't matter if your heels are not touching the floor. However, you can place a pillow or a block underneath for support.
Keep pressing down towards the floor, whilst the shoulder blades gently draw down along the spine, while maintaining space across the tops of the shoulders and shoulders are relaxed away from the ears. The upper arms are externally rotated and drawn towards one-another; forearms rotated internally.
Relax the neck, you should be able to say yes or no with the head. No tension in the neck. Appreciate the length in the spine. Now if possible, you can begin to invite the legs to slowly and gradually straighten by pressing the thighs back, whilst keeping the extension in the spine. You can also gently peddle, straightening one leg at a time. Perhaps your heels come closer to the floor lengthening the hamstrings. Now if your hamstrings are tight, keep the knees bent as much as you need.
A few things to remember when your mind or ego gets in the way:
- Everybody is different. This is your practice.
- Breathe! Make sure you are not holding your breath.
- Most practitioners' heels do not touch the floor.
- Bend your knees as much as you need. The most important part of this pose is to create and maintain the extension of the spine
- Make sure you are not shifting too much towards the shoulders and take the weight back into the hips.
- Keep a micro bend in the elbows so as to not hyperextend. Draw the elbows in.
- Keep the lower ribs anchored to activate the upper abdominal muscles.
- You can lower the knees down to the floor anytime, or when you are ready to release.
- Notice, notice, notice!
- Keep practicing :)
Our wellness center is thoughtfully crafted with three unique venues—Blue Karma Dijiwa Seminyak, Blue Karma Dijiwa Ubud and Blue Karma Village—each tailored to support a variety of wellness activities. Whether you seek relaxation, rejuvenation, or a holistic fitness experience, each venue is crafted to foster a tranquil environment that inspires balance and well-being. Discover a sanctuary where wellness practices are elevated, allowing you to fully connect with yourself and nature, all within the serene settings of Blue Karma Secrets.
Written by Johanna Pollet (Yoga Teacher)


